Robots and Dropouts
A 3D printer in the shop has changed how we work in a subtle but powerful way
A new tool extends what you can do - but this new tool has extended the way we think.
First you get a hammer, and everything looks like a nail. Then you get a lathe, milling machine, welding equipment, brazing torches, and everything looks like a bike frame. Soon, more people want your bikes than you can support from your shop so you start working with Production partners, and your job evolves to focus on tooling and quality checks. This is the kind of work where the Markforged Mark Two enables thinking in new iterations unavailable to us before.
Dropouts

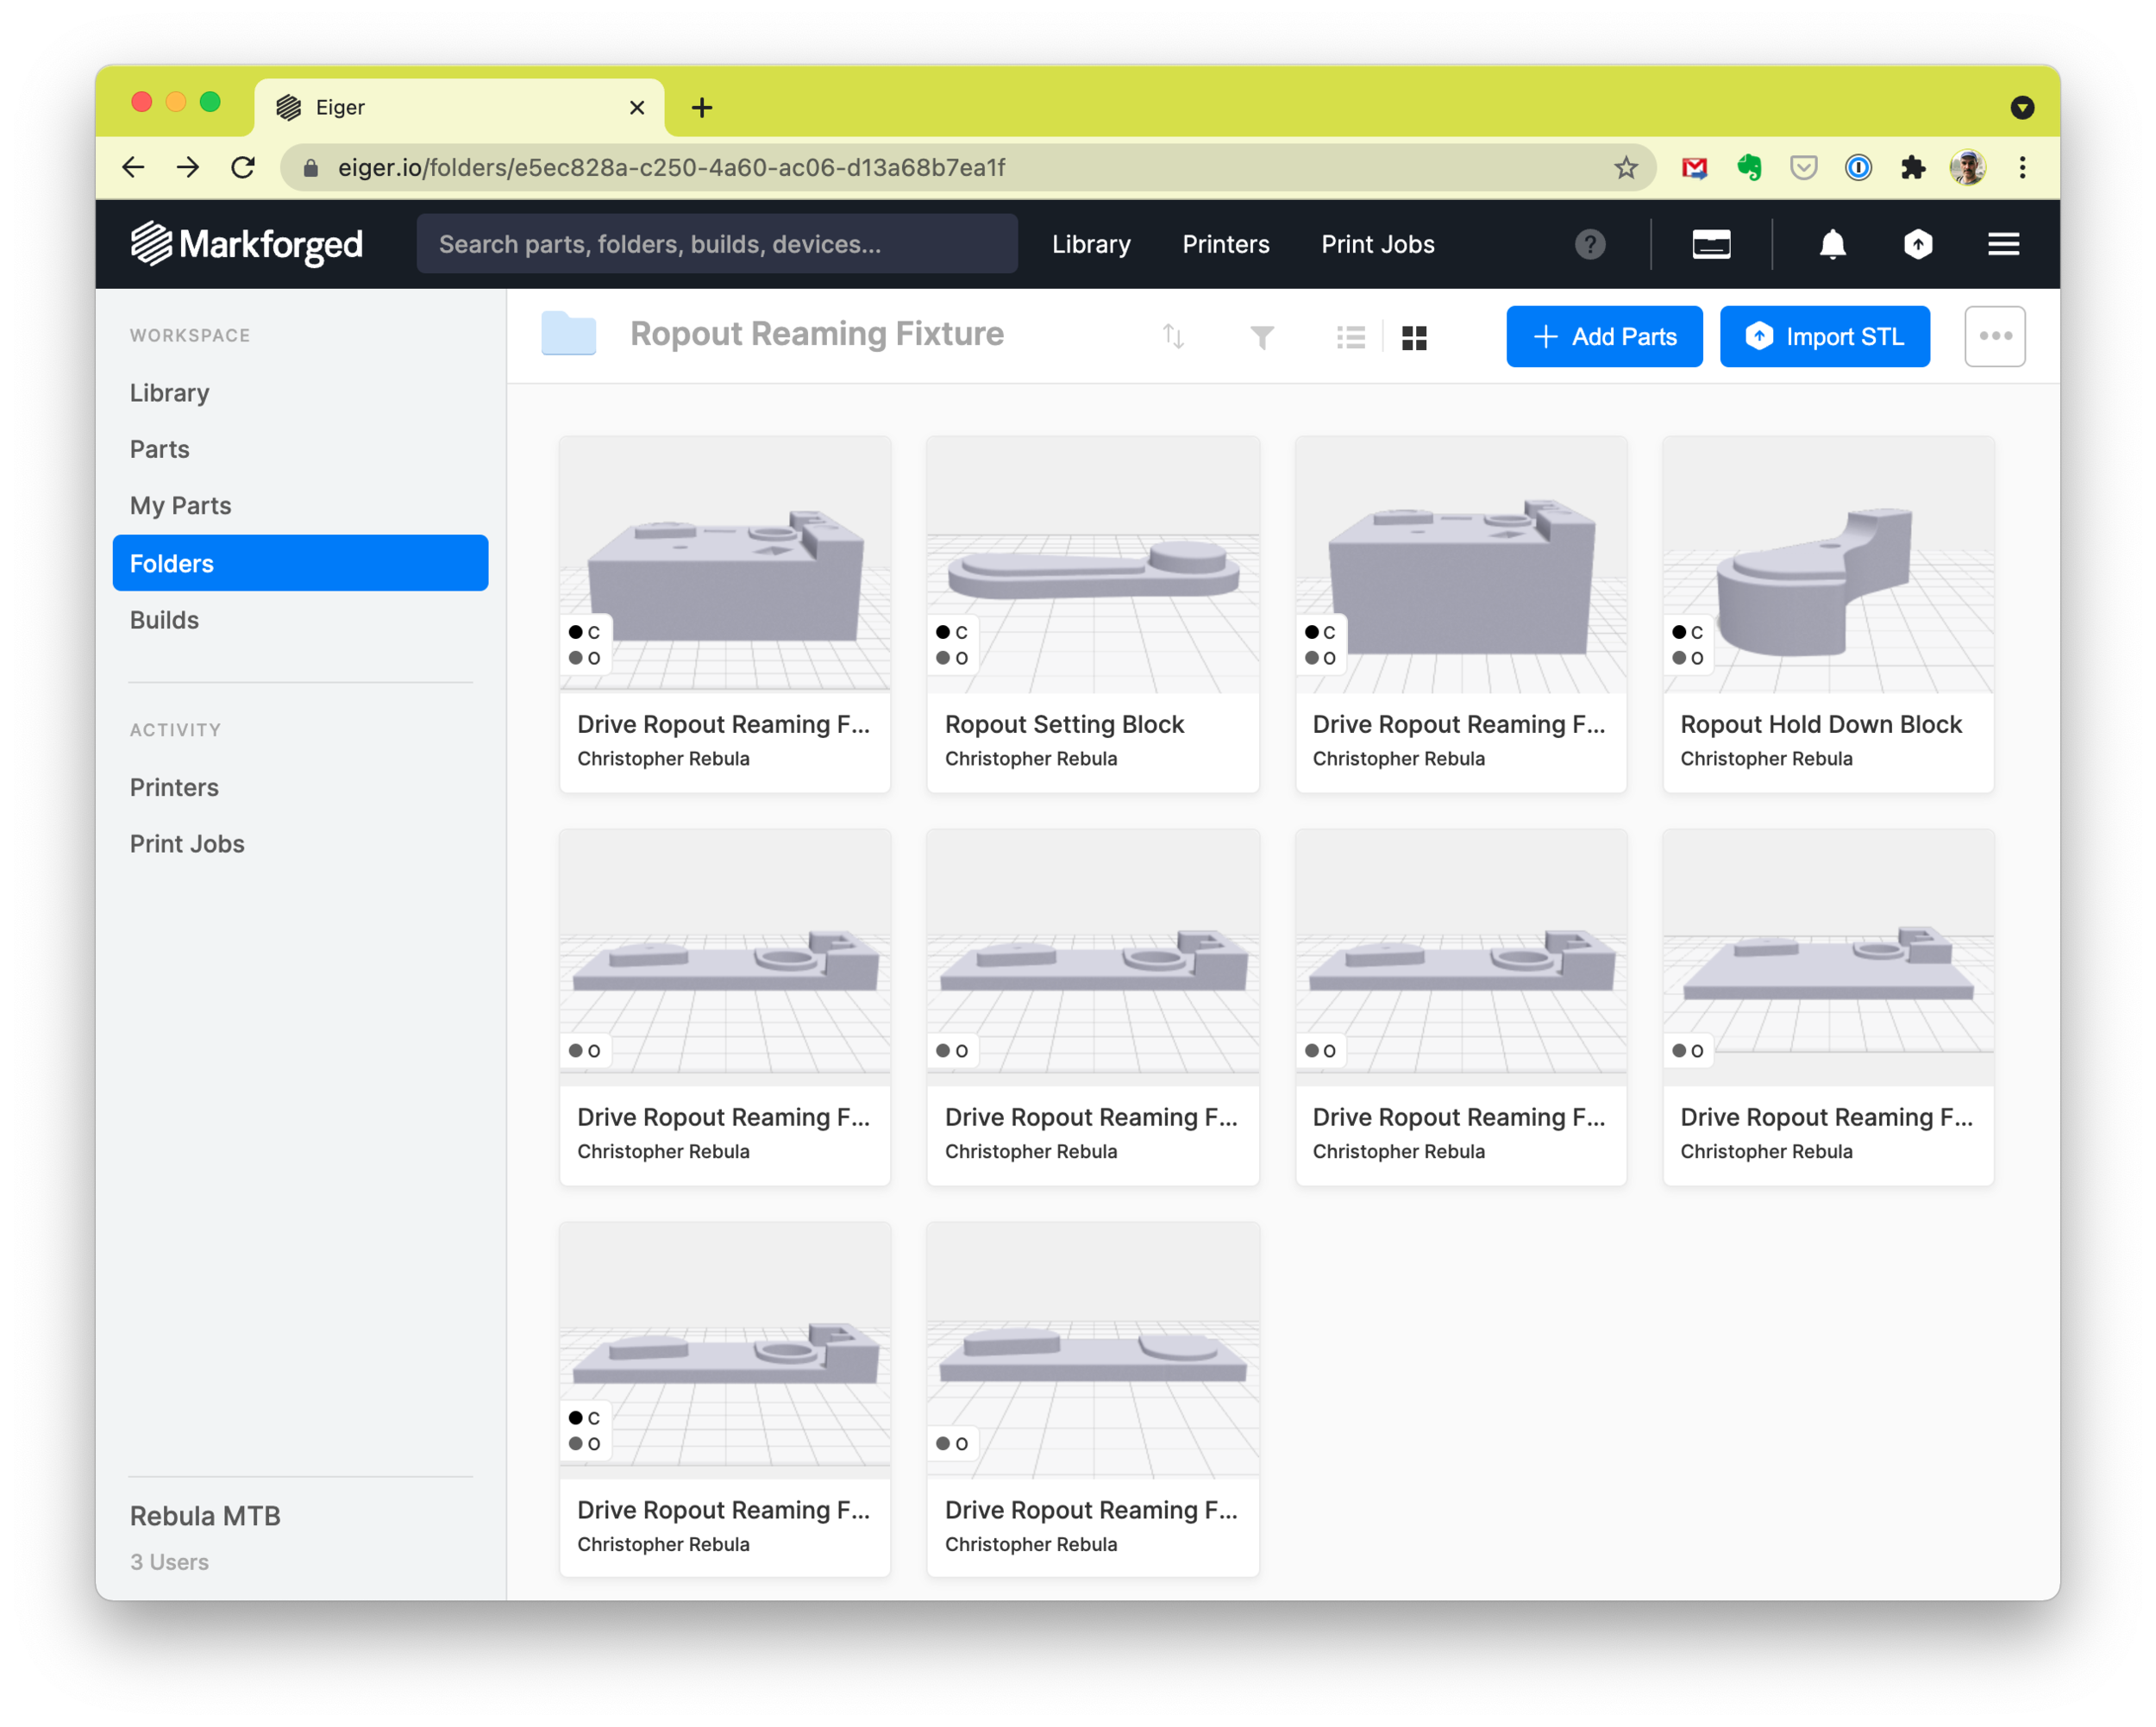
At Rebula MTB and South Mountain Products, we try and make everything in our own shop or close to home with local partners. These dropouts, where the rear axle passes through and mounts to the bike frame, required us to go a bit farther afield than usual due to the equipment necessary to make their complex geometry. Even the best partners can occasionally leave us with some final cleanup, and with these dropouts we found in our samples that the bores were undersized, called it out, and still our production run needed a final operation in our shop to make them perfect.
Each dropout is a machined part, with a hole that was undersized by .0035” and the part has a slot that bisects that hole. The “wings” created by the slot need to be supported during a reaming process. We needed to ream the hole of 50 parts, so easy repeatable setup was the goal.
The “old way” would be to design a metal fixture that would support this and machine it in-house. Since we’d have to be sure we got it right the first time, design and development would be slow, precise, and methodical. Getting the interfaces between fixture and part right would mean meticulous work. We’d have to define the tools, set up the machine with the tools, and figure out pockets needed for the sharp corners of the part, design to deal with the different clearances, and that fixture would probably need to have some adjustability in order to locate the part perfectly unto the tool, etc.
Iterative design
The Markforged Mark Two lets us move dramatically faster - and reach an even better solution than we would normally be able to achieve. Instead of starting with the entire fixture, we printed only the “negative space” where the fixture holds the part, and could check that against the part live, and then make small changes and then test and repeat.
Iterations of the interfaces, before building the full fixture
Six very fast iterations of just printing the profile of where the fixture interfaces with the part got it perfect before we finalized our design of the fixture to make it work perfectly with our equipment. No adjustability needed - the fixture goes into the tool, find the hole center of the part, check part orientation in relation to the tool spindle, ream the hole, and check the results. We measured repeatability on the first ten parts - and the setup and results were perfect to the finest degree our measurement equipment could see. Perfect aliment, perfectly repeatable. We even printed a nice setting tool to get the parts in and nice ejection ports to get them out.
We joke a lot about “robots” but really, Markforged is smart enough to do a lot of the heavy lifting for us when it comes to taking a 3D Solid and getting a physical object: it suggests orientation, layup, and everything else that makes so we push print and let it automate until we go take the part off the stage.
End results
End result, to the best of our ability to measure we have holes that are exactly 16mm, perfectly located, across all 50 parts… and we have the toolset and knowledge that we’re putting to use for iterative fixture design for all the similar situations we run into in Production.

That should work just fine


